Using ansible and image builder to create customized RHEL system images for provisioning systems that run virtualized protection automation and control software
This article will cover how to build standardized golden system images for deploying systems that run virtualized protection automation and control software on RHEL/KVM
Setting up Image Builder Host
The first step is to provision an image builder host. For this article, we will use AWS and launch an EC2 instance using the Red Hat Enterprise Linux (RHEL) 9 AMI provided by Red Hat. Once the instance is up and running, connect to it via SSH, register it with your Red Hat subscription, and update the system to ensure all packages are current.
I have also updated my ansible inventory file as shown below:
all:
  hosts:
    imagebuilder:
      ansible_host: "<redacted>"
      ansible_port: 22
      ansible_user: "ec2-user"
      ansible_ssh_private_key_file: "<redacted>"
Next we will configure the image builder host with all necessary tools to be able to build customized RHEL system images. We are going to leverage an ansible role . The role leverages modules from infra.osbuild collection. If you are interested in diving deeper and understanding all the steps please check out the role referenced in the link earlier. To configure the image builder host we will use an anasible playbook that runs the setup image builder role as shown in the snippet below:
- name: Configure RHEL host as image builder
  hosts: imagebuilder
  gather_facts: yes

  tasks:
  - name: Import role
    ansible.builtin.import_role:
      name: rprakashg.edgeautomation.setup_imagebuilder
Before we can run the playbook lets go ahead and install the collection rprakashg.edgeautomation as shown in the snippet below:
ansible-galaxy collection install git+https://github.com/rprakashg/edgeautomation.gitNow we can run the playbook as shown in the snippet below:
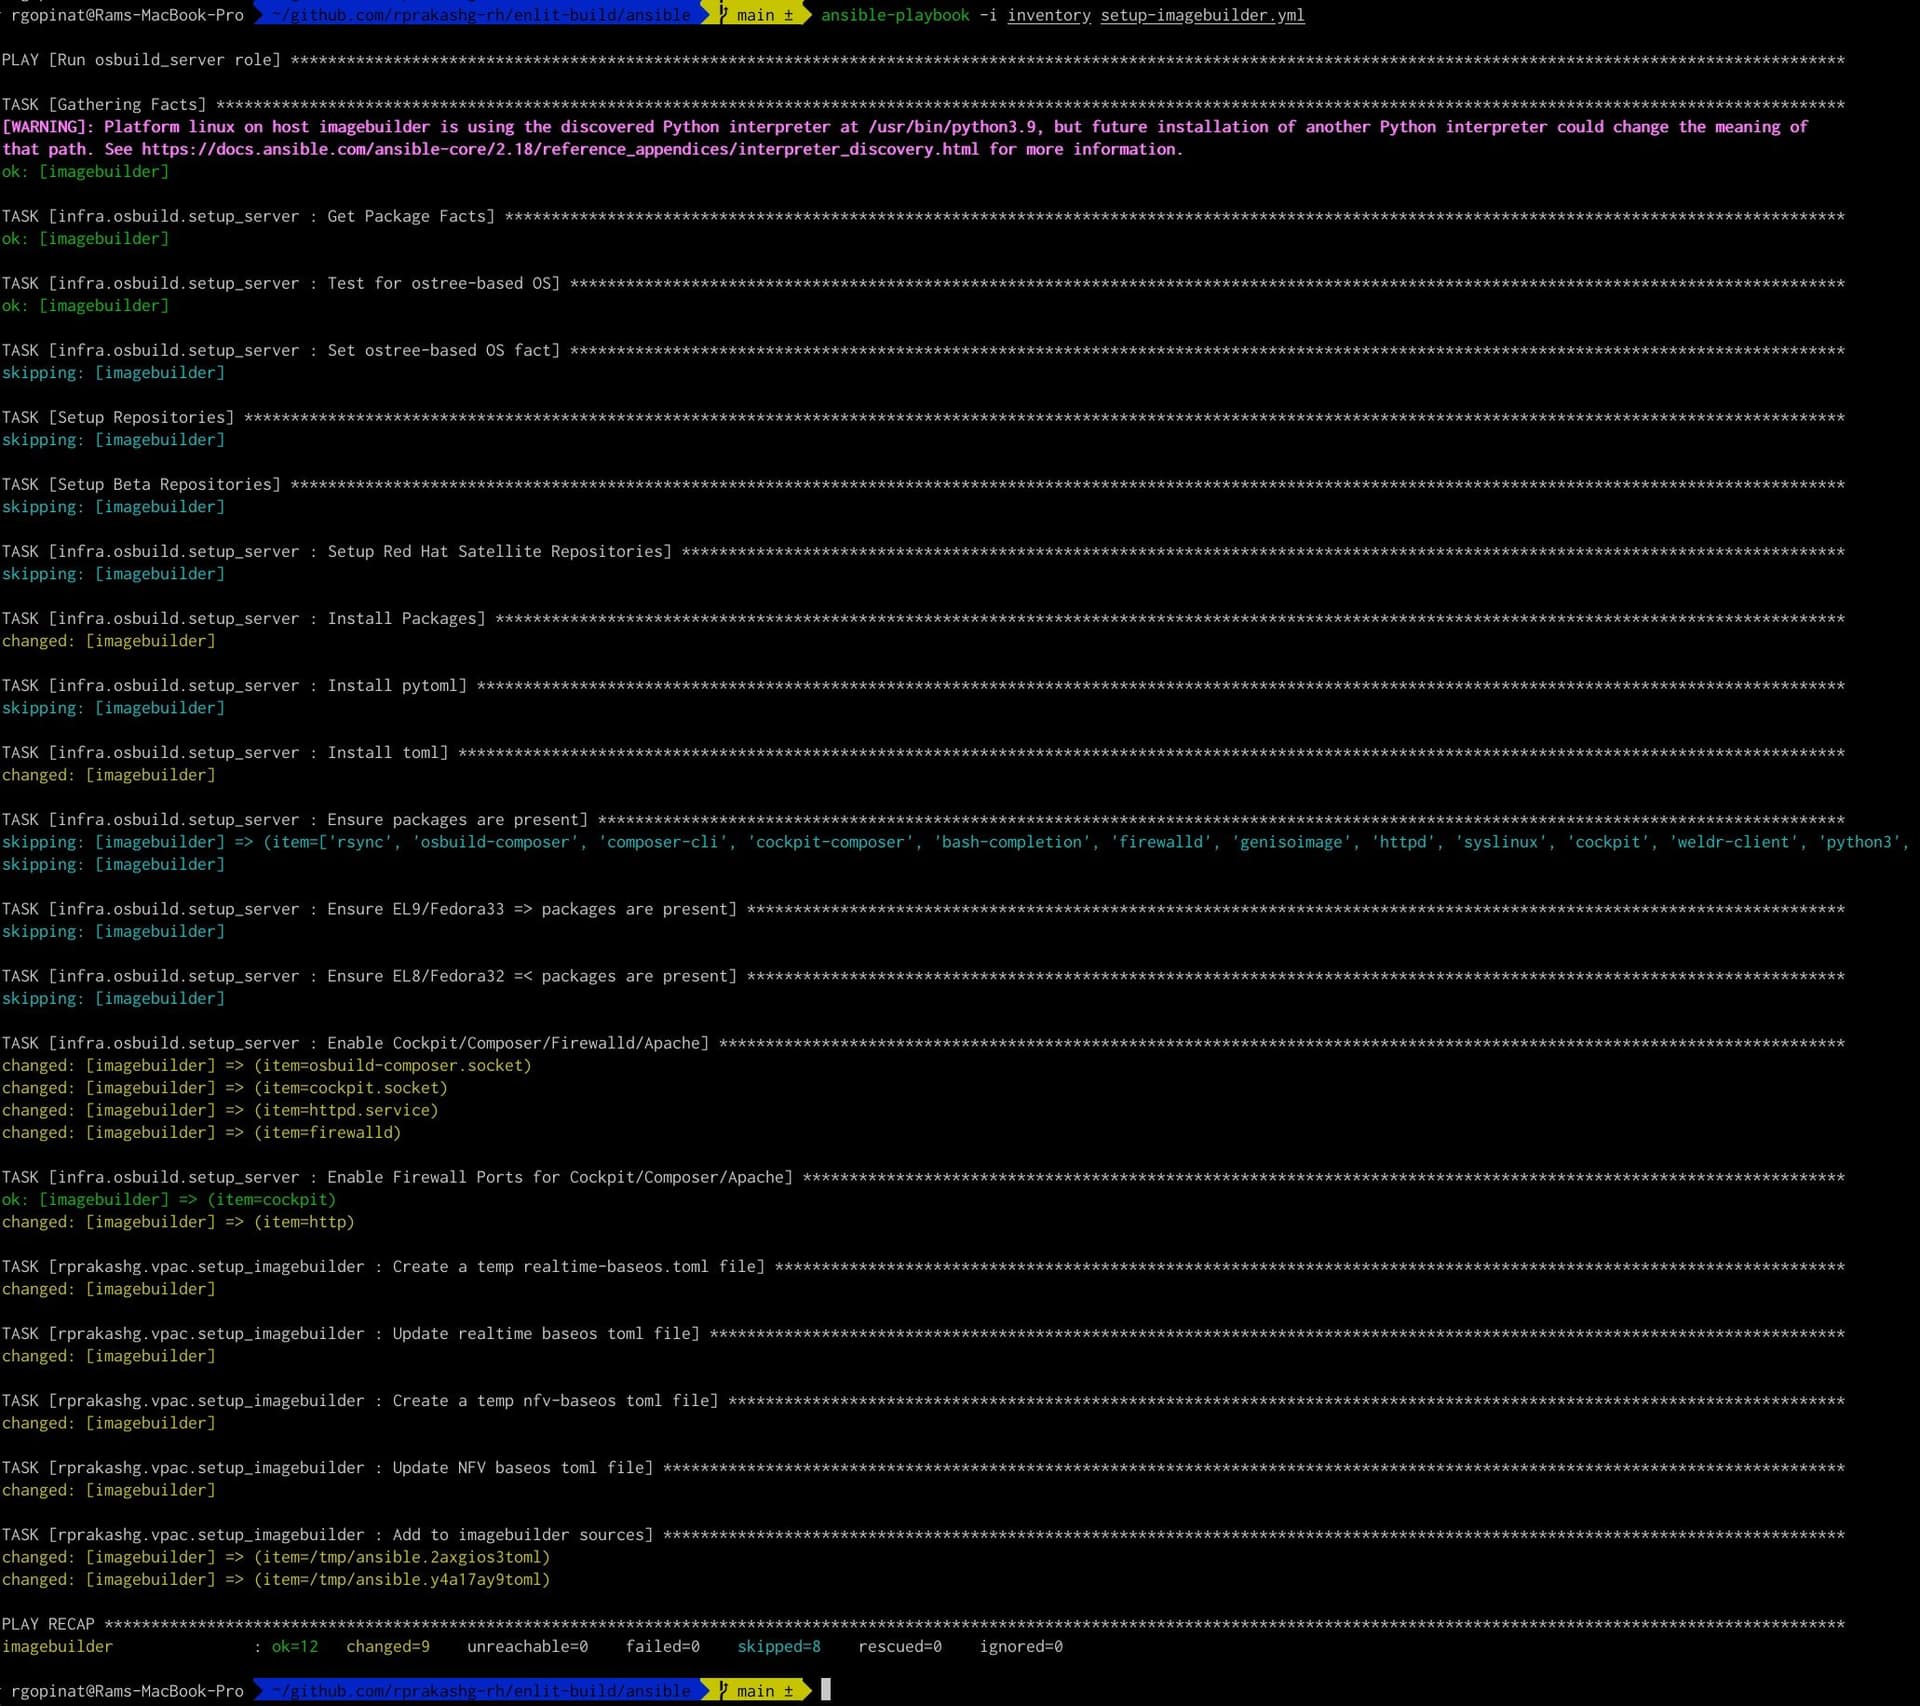
ansible-playbook -i inventory setup_imagebuilder.ymlIf everything goes well we should see an output like below screen capture:
Building Standardized Golden Images
Now that the image builder server is configured and running we can now use it to build a standardized custom image with an anaconda kickstart file that automates provisioning RHEL based systems. Lets now look at how to achieve that.
Define an image definition
First step in building standardized RHEL system images is defining an image definition file. We can achieve this by creating an ansible vars file. Image definition looks like the below yaml snippet:
retries: 100
delay: 20

min_disks: 4
min_size_gb: 500

# blueprint details
builder_blueprint_name: vpac-rhel-iso
builder_blueprint_description: "Base RHEL 9.7 image used to deploy grid platform for utilities"
builder_blueprint_distro: "rhel-9"
builder_compose_pkgs:
- ansible-core
- rsync
- vim
- syslog-ng
- linux-firmware
- audit
- ca-certificates
- chrony
- curl
- gnupg
- wget
- firewalld
- irqbalance
- jq
- lbzip2
- linuxptp
- net-tools
- pcp-system-tools
- podman
- cockpit
- cockpit-machines
- cockpit-podman
- cockpit-storaged
- cockpit-networkmanager
- cockpit-selinux
- cockpit-sosreport
- cloud-init
- cloud-utils-growpart
- unzip
- bzip2
- zstd
- mkisofs
- qemu-kvm
- libvirt
- virt-install
- virt-viewer
- swtpm
- swtpm-tools
- dosfstools
- edk2-ovmf #uefi firmware for windows 11 install
- intel-cmt-cat
- kernel-rt
- kernel-rt-kvm
- tuned-profiles-nfv-host
- realtime-tests
- dnf-plugins-core
- python3-dnf-plugin-versionlock #versionlock
- cryptsetup
- corosync
- pacemaker
- systemd-networkd
- systemd-resolved
- systemd-timesyncd
- bridge-utils
- pcs
- pacemaker
- fence-agents-all
- cabextract
- cephadm
- ceph-common
- lvm2
builder_compose_customizations:
  services:
    enabled: ["cockpit.socket", "firewalld"]
  firewall:
    services:
      enabled: ["http", "https", "ssh", "cockpit"]
      disabled: ["telnet"]
    ports: ["9090:tcp", "22:tcp", "3300:tcp", "6789:tcp", "8443:tcp"]
Above image definition is something specific to VPAC environments but you can really customized it to fit to match your requirements.
Define the kickstart definition
Next we will define a kickstart definition file. Kickstart file allows us to perform a completely automated and unattended install of our custom RHEL image without requiring any manual intervention. Similar to image definition we can use ansible vars file to achieve just that as shown in the snippet below.
---
builder_blueprint_name: vpac-rhel-iso

# Kickstart definition for customized install on baremetal hosts
# Kickstart customizations
builder_kickstart_pre: |
  {{ lookup('ansible.builtin.template', 'ks-pre.j2') }}

builder_kickstart_post:
- systemctl enable --now cloud-init
- systemctl enable --now cloud-config
- systemctl enable --now cloud-final
- systemctl enable --now cockpit.socket

builder_kickstart_options:
- lang en_US.UTF-8
- keyboard us
- timezone America/Los_Angeles --utc
- text
- liveimg --url file:///run/install/repo/liveimg.tar.gz
- zerombr # Clear the MBR/GPT on all detected disks
- bootloader --location=mbr
- clearpart --all --initlabel # Clears all partitions on sda and initializes the disk label
- part /boot --fstype=ext4 --size=4096 # Creates a /boot partition with ext4 filesystem, 4GB size to accomodate multiple kernels
- part /boot/efi --fstype=efi --size=600
- part pv.01 --size=1 --grow # Create a physical volume for LVM
- # Setup LVM
- volgroup vg_system pv.01
- logvol / --vgname=vg_system --name=lv_root --fstype=xfs --size=150000
- logvol /home --vgname=vg_system --name=lv_home --fstype=xfs --size=200000
- logvol /vms --vgname=vg_system --name=lv_vms --fstype=xfs --size=500000
- logvol swap --vgname=vg_system --name=lv_swap --recommended
- network --bootproto=dhcp --activate #auto detect network
- reboot --eject
...
Building the ISO with custom kickstart for unattended installation
Next we will build a custom ISO using the standardized image definition we created earlier. Steps to automate this is implemented in this ansible role. If you are interested in diving deeper feel free to checkout the ansible role.
Create an ansible playbook named build_iso.yml to invoke the role as shown in the snippet below:
---
# This playbook automates creation of RHEL ISO
# for seapath clusters
- name: Build RHEL ISO playbook
  hosts: imagebuilder
  gather_facts: true

  tasks:
  - name: Execute the `create_image_installer` role
    ansible.builtin.import_role:
      name: rprakashg.edgeautomation.create_image_installer
...
Run the playbook and provide the inventory file and blueprint definition file as parameters, as shown in the example below:
ansible-playbook -i inventory build_iso.yml -e @vars/vpac.yamlWhen the playbook executes, the `create_image_installer` ansible role converts the blueprint definition file into an OSBuild blueprint that Image builder can consume. The role then uploads the blueprint to Image builder and initiates an OSBuild compose job and waits for the compose job to finish. Once the playbook terminates we can grab the compose job id from the image builder host.
Next we will create an ansible vault to store secrets such as initial admin user and password we want to create, ssh keys to use etc. when system is provisioned. Run command below to create the ansible vault. When prompted enter secret which will be used to encrypt vault file.
ansible-vault create ./vars/secrets.ymlAdd snippet below and specify values.
admin_user: <redacted>
admin_user_password: <redacted>
admin_user_ssh_pubkey: <redacted>
root_password: <redacted>
Save the vault secret in environment variable as shown in snippet below:
export VAULT_SECRET=<redacted>Next, we inject a custom Kickstart configuration based on the Kickstart definition file created earlier. This role automates the entire process, but if you're interested in the implementation details, you can review the Ansible code behind the role.
At a high level, the role downloads the compose artifact using the provided compose job ID, converts the Kickstart definition into a valid Kickstart file, and performs validation checks to ensure the configuration is correct. Once validated, the role injects the Kickstart file into the ISO artifact generated by OSBuild and a new immutable ISO with custom kickstart will be available to distribute.
Create an ansible playbook named `inject_ks.yml` that runs the role as shown in snippet below:
---
# This playbook downloads ISO artifact for specified osbuild job
# and uses the kickstart definition to create a kickstart file
# and injects the generated custom kickstart to create a new iso
# with custom kickstart
- name: Inject custom kickstart playbook
  hosts: imagebuilder
  gather_facts: true

  tasks:
  - name: Load secrets from ansible vault
    ansible.builtin.include_vars:
      file: "./vars/secrets.yml"
  - name: Execute the `inject_ks` role
    ansible.builtin.import_role:
      name: rprakashg.edgeautomation.inject_ks
...
Run the playbook as shown in the snippet below:
ansible-playbook -i inventory --vault-password-file <(echo "$VAULT_SECRET") inject_ks.yml -e @vars/ks.yaml -e compose_job_id=<replace>Once the playbook executes successfully, location of ISO with custom kickstart will be printed as debug message This is just an example but in real world scenarios we’d want to push it into some artifact store like jfrog or something
At this point we have an immutable ISO that is based on a defined blueprint, it still doesn’t have any configuration such as local admin credentials with SSH key and certs and other configurations that is needed to connect with the management system. In the next article we will look at using cloudinit to iinject these configurations during firstboot.
If you have any questions about this article please feel free to reach out.
Thanks,
Ram
Comments
Author
Ram Gopinathan
Reading time
5 min read
Tags
Rate this article