Remotely Installing Red hat Enterprise Linux on bare metal infrastructure using IPMI
In this article will cover how to perform a fully automated and unattended install of Red Hat Enterprise Linux (RHEL) on a bare-metal server remotely using the IPMI web interface.
For readers who are not familiar with IPMI, IPMI stands for integrated platform management interface. Its an open standard for hardware management. I've long been wanting to write about this but finally getting to it now.
For this demonstration, we’ll install RHEL on an Advantech ECU579 server. This system is equipped with an ASPEED 2500 BMC chip and supports IPMI 2.0 over the onboard LAN interface.
Preparing IPMI access
The Advantech ECU579 includes four onboard Ethernet ports. To enable remote IPMI access, connect your Ethernet cable to LAN1.
Before proceeding, ensure that IPMI is enabled and that it has a valid IP address configured in the BIOS.
You can either assign a static IP or let it obtain one automatically via DHCP.
If you’ve configured a static IP, make sure your local system’s network settings are manually adjusted to be within the same subnet.
For example, in my setup:
- IPMI IP address: `172.16.10.30`
- Local system IP address: `172.16.10.40`
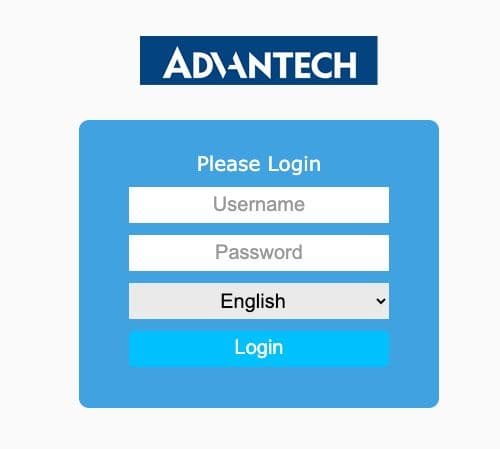
You should now see the IPMI login page like below:
Mounting the RHEL ISO
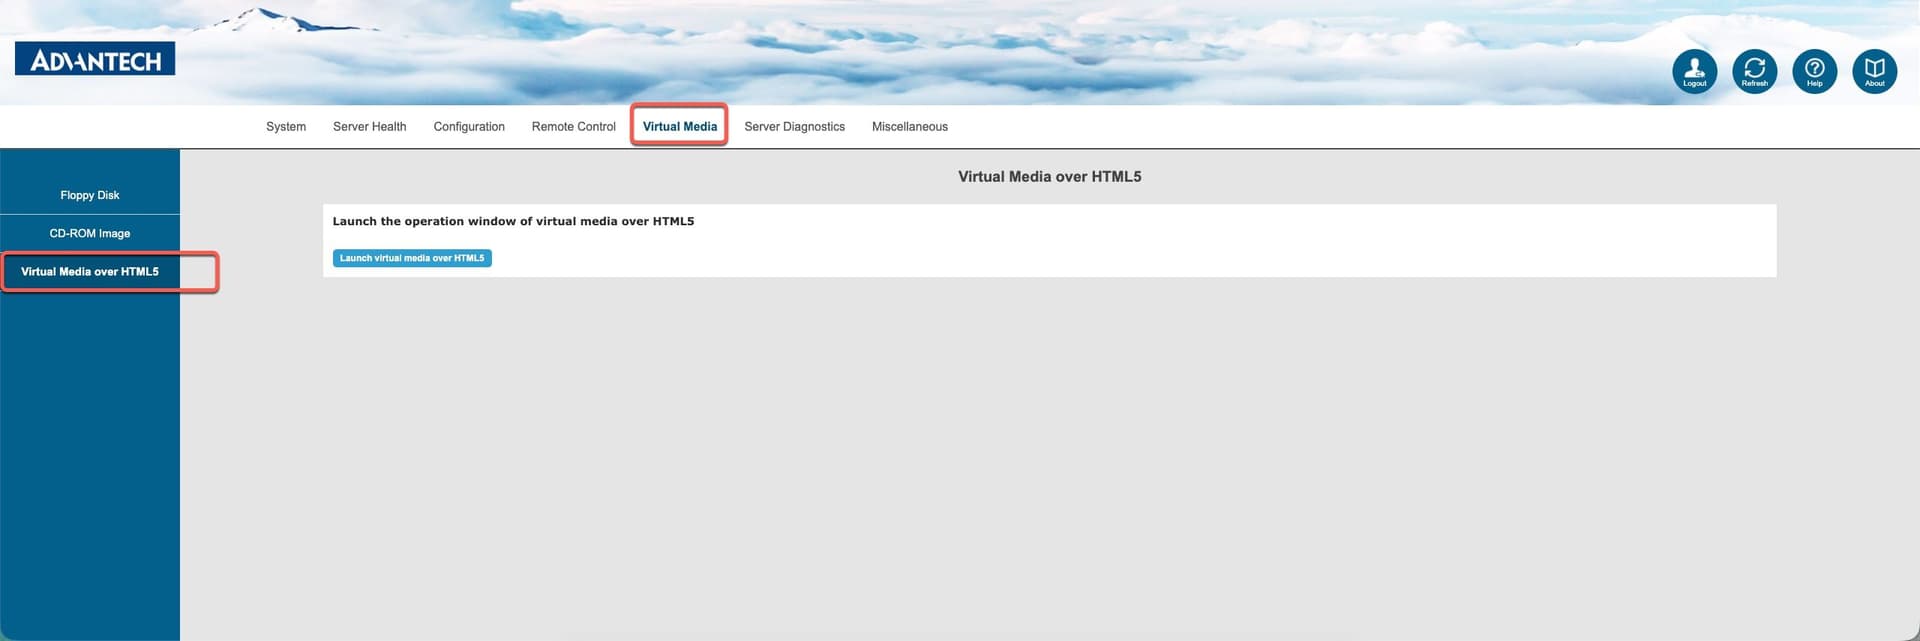
After logging in, find the Virtual Media option in the menu. Since we’ll be installing RHEL remotely, choose Virtual Media over HTML5 as shown in screen capture below
A new popup window will open where you can select the ISO and mount. See screen capture below
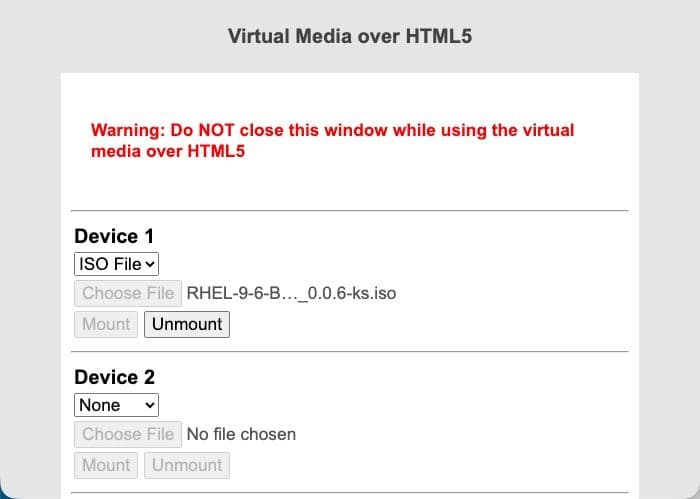
From the dropdown, choose ISO File, select your RHEL ISO from your local system, and click Mount ISO.
Heads up: Don’t close this popup window — keep it open while the installation runs!
Starting the remote console
Now head over to Remote Control → iKVM over HTML5, and click Launch iKVM over HTML5.
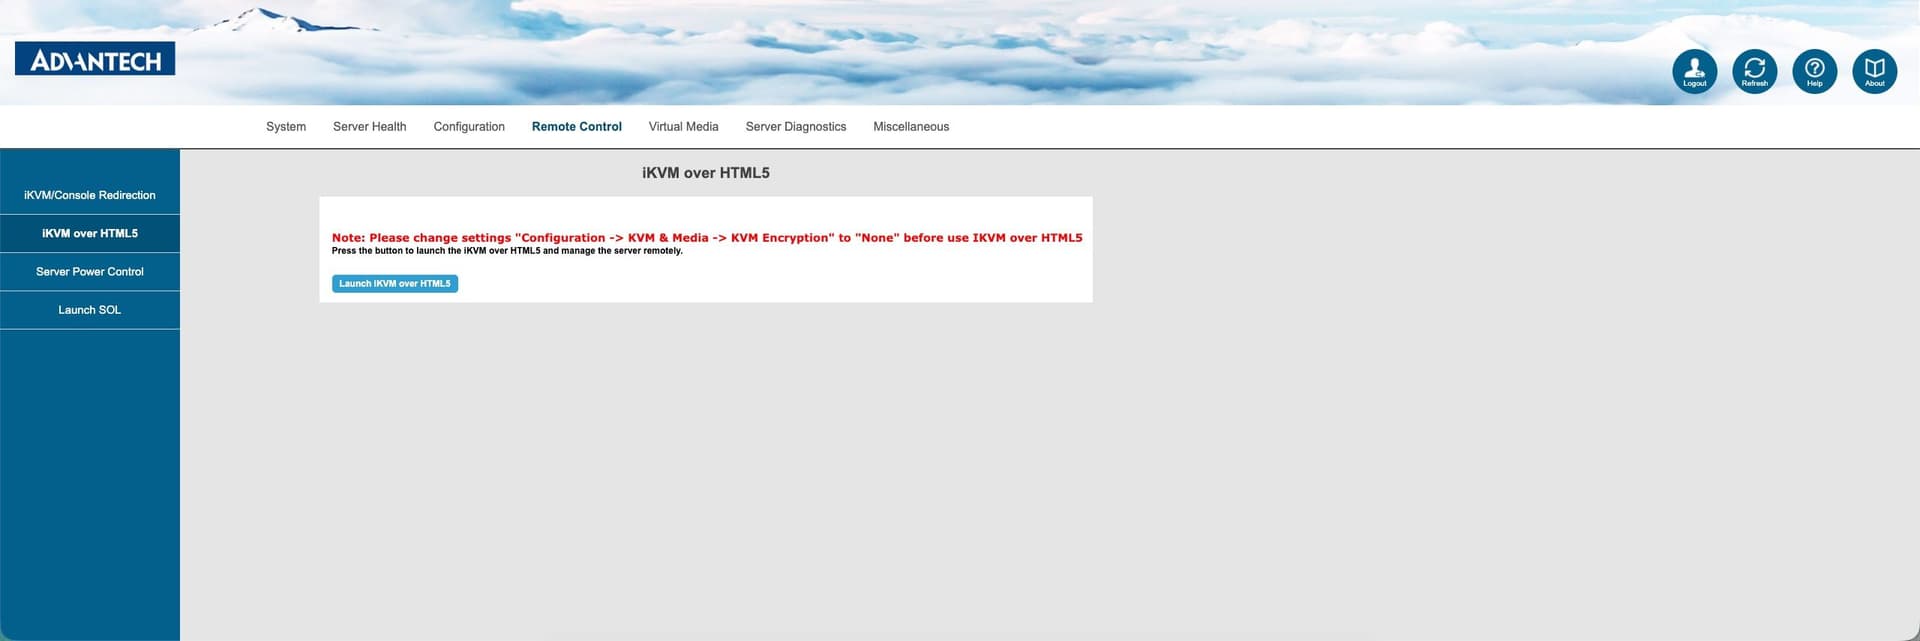
Once the console opens, use the Power Control menu to power on the server. If needed, hop into the BIOS and double-check the boot order — make sure it’s set to boot from CDROM so it picks up the mounted ISO.
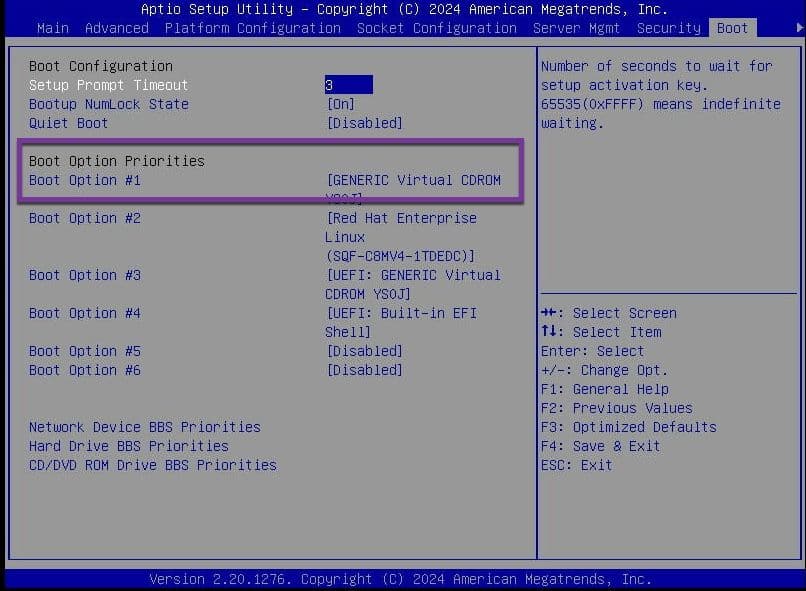
Installing RHEL
Once the system boots from the ISO, you’ll see the familiar RHEL boot menu as shown in the screen capture below

Select Install Red Hat Enterprise Linux 9.6 and hit Enter. At this point, your server will begin a fully automated, unattended installation of RHEL using your custom kickstart file as shown in the screen capture below
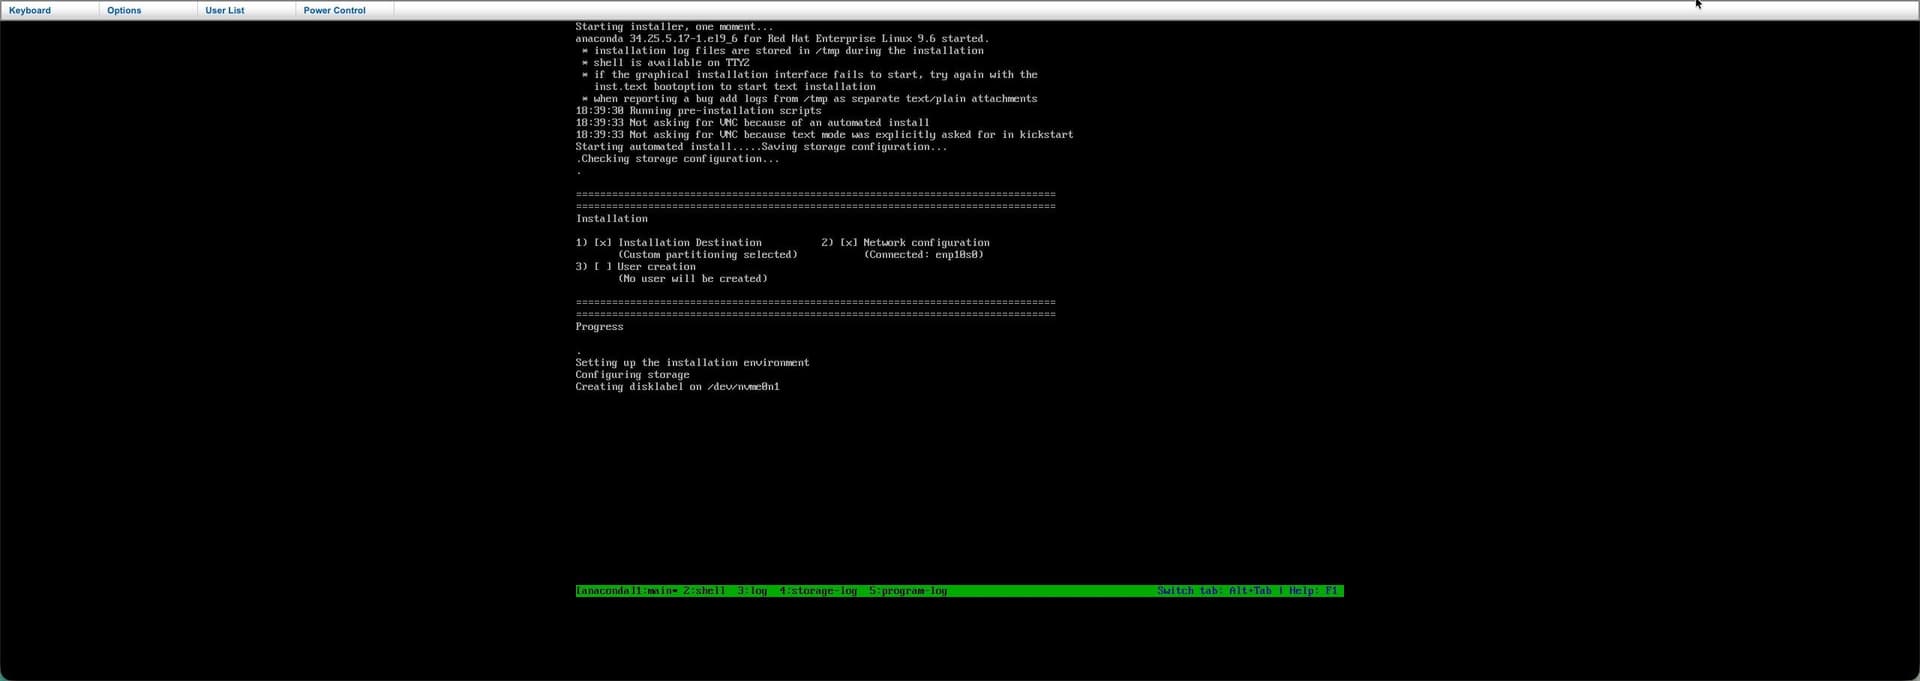
After the installation is complete you should see a screen like below
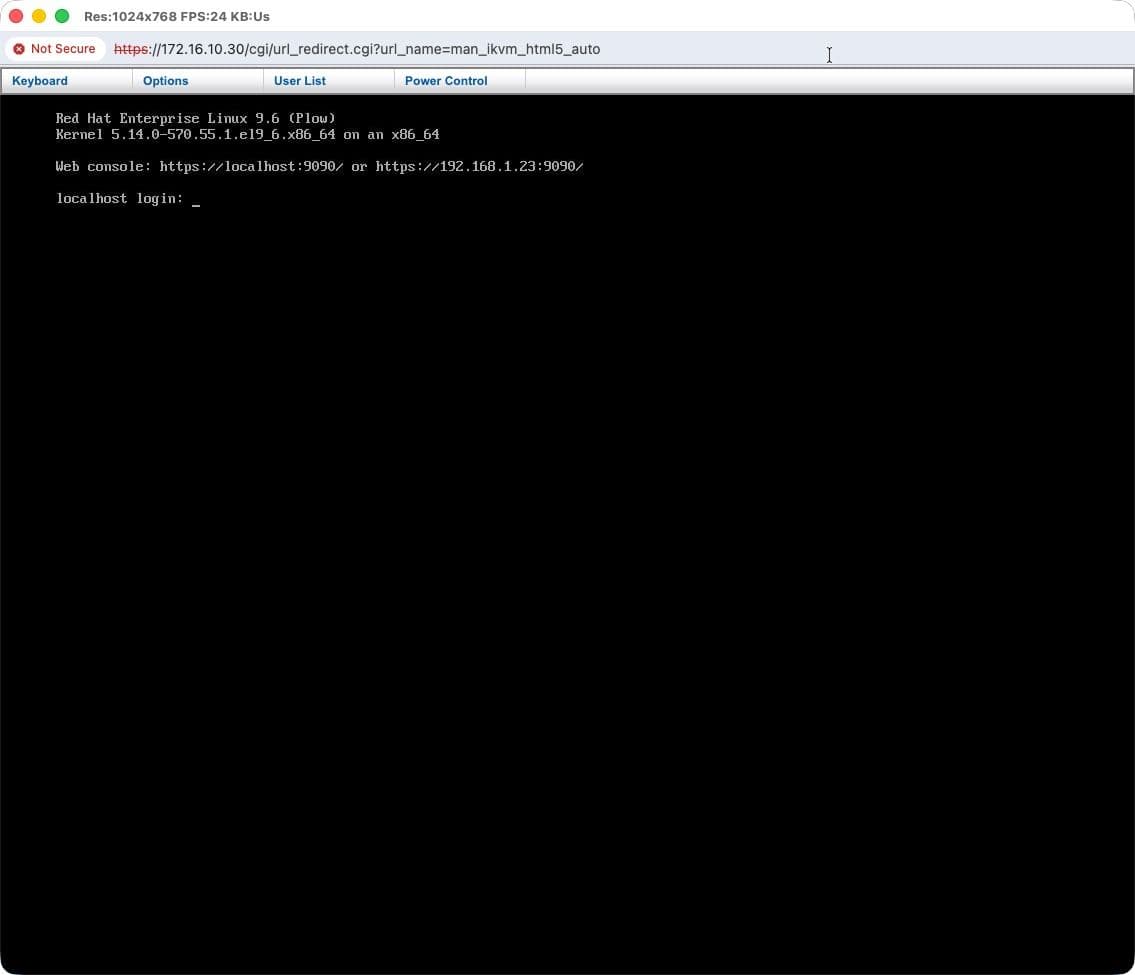
About the kickstart file
To make the installation completely hands-free, your ISO needs a custom kickstart configuration. Without it, the installer will start a VNC session, and you’ll have to complete setup manually using a VNC client, this is because of the graphical installer. Who uses GUI installer right? :)
That’s it! You’ve just installed RHEL remotely using IPMI. Hopefully this walkthrough saves you some time and helps you set up your own remote installs more easily.
If you run into any issues or have questions, feel free to reach out — happy to help.
Thanks for reading,
Ram
Comments
Author
Ram Gopinathan
Reading time
5 min read
Tags
Rate this article